Add Theme to ASP.NET MVC
1) Get a Theme
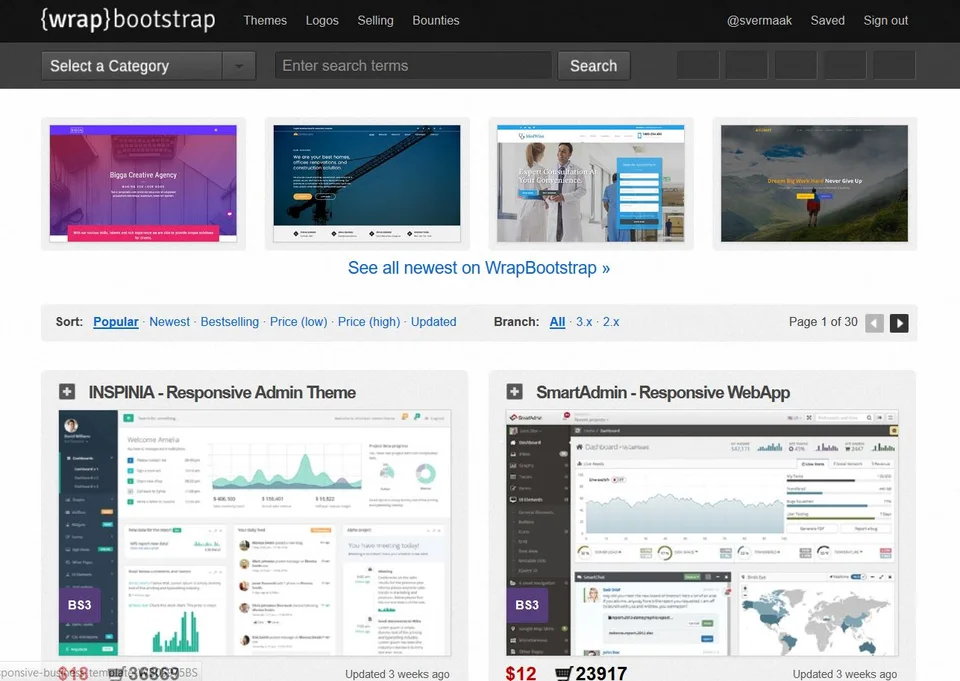
a) The first step is to have an HTML theme ready to be applied to an ASP.NET MVC project. If you do not have a theme, I recommend that you look at http://wrapbootstrap.com/. WrapBootstrap have loads of affordable themes to choose from.

For this article, I will be using the Unify theme

b) These themes are downloaded as a ZIP file, extract it to a convenient

Most themes have multiple different pages, browse theme from the Index.html page and find one to use

c) Open the page in a text editor and copy content to clipboard

2) Create ASP.NET MVC project
a) Open Visual Studio. From the "New Project" windows, select "Web" then "ASP.NET Web Application" and click "OK"

b) In the "New ASP.NET Project" windows, select MVC and click "OK"

c) Open the "_Layout.cshtml" file from the "Views", "Shared" folder in the "Solution Explorer"

3) Integrate Theme
a) Paste the content from the HTML theme page below the last line of the "_Layout.cshtml" file

b) Most themes have a folder that contains all the resources used by the HTML page. In the case of the Unity theme, the folder is called "assets". Copy this folder.

c) From within Visual Studio, past the "assets" folder to the "Content" folder

d) Notice that the "asset" folder references in the "_Layout.cshtml" page incorrectly points to "assets/plugins/..." for example

e) Press "CTRL+H" to open the replace toolbar. In this example, the resources that start with "assets/" should be changed to start with "~/Content/assets/"

4) Rendering links
a) The "_Layout.cshtml" file contains a series of rendering links. These are entries that start with @ for example "@ViewBag.Title - My ASP.NET Application". These links have to be moved to the correct location in the copied text from the theme HTML. Below shows where to copy the "@ViewBag.Title - My ASP.NET Application" value.

b) HTML themes have a content section, copy the "@RenderBody()" value to this part in HTML text, replacing all demo content

c) Below shows where to copy the '@Styles.Render("~/Content/css")' and '@Scripts.Render("~/bundles/modernizr")' values

d) Below shows where to copy the '@Styles.Render("~/bundles/jquery")' and '@Scripts.Render("~/bundles/bootstrap")' values, directly above the "</body>" tag

e) Find an appropriate location for the login partial view. In the example below the '@Html.Partial("_LoginPartial")' value is added to the top bar, overwriting all existing values

f) Copy the ActionLinks from the "_Layout.cshtml" file into the navigation section of the HTML theme.
Note that themes use different navigations but you will have a few example menu items to work from

g) The final step is to delete the original text from the "_Layout.cshtml" file. The project should be ready to run
5) The Result
Even though other changes are required to get this page to the ideal state, this should at least provide a good starting point for your projects.

No comments yet
Comments are moderated and appear once approved.